Soldering 101 with Cory P!
Cables, cables everywhere! Technology always has at least one cable that needs to be plugged into something somewhere, and the higher quality, more technical the gear gets, the more cables that come along with it. Whether it’s a guitar cable, power cable, ethernet, BNC or who knows what else, cables are just an accepted part of technology, love it or hate it.
The worst thing is when you have a cable go bad. Especially with how expensive many of these cables are, it is incredibly frustrating when a cable starts shorting out – or even worse – stops working altogether. Having soldering as one of your skills can be invaluable!
To start off, what does our standard audio cable consist of? There are generally two types – balanced and unbalanced. An unbalanced cable typically will have two conducting wires that allow electronic voltage to pass, are generally less than 20 feet long, and are prone to interference from radio and magnetic signals. A balanced cable is an unbalanced cable with an extra conductor – a shield – that intercepts EMI/RFI and acts as a grounding wire. These cables generally can be longer and allow for a better quality signal.
The wire inside a cable is typically copper, which is very conductive, wrapped in an insulator – rubber or plastic that does not conduct electricity. The idea is to transport electromotive force from one end of the cable to the other uninterrupted. In order to have this wire actually connect to our devices, we will need some sort of connector. While this isn’t necessary, it certainly has advantages, such as interconnectivity, strain relief, and ease of setup/tear down. The connector is designed to plug into a port on each piece of gear we want to connect. Inside the connector is where we find the individual wires of the cable connected to “pins”, which will make our actual connection inside the port we plug the cable into.
In audio, generally we have a TS (unbalanced), TRS (balanced), or XLR (balanced) cable. Of course there are many others, but those are some of the more common ones we use. TS cables are typically used with guitars and basses, TRS are used often to interconnect speakers, and XLR is most commonly found as a mic cable.
In many cases we may come across a non-working cable. It is entirely possible to fix a faulty cable, and that can certainly save you a ton of money. An essential tool in any aspiring musician or audio engineer’s kit is a fundamental set of soldering skills. Soldering is an incredibly useful skill that a surprising amount of people don’t possess, and it’s really not much harder than trying to hot glue something together!
In this series of videos, we have CRAS instructor Cory P talking us through basic soldering. This is a skill that is taught at the Conservatory as part of our Live Sound curriculum for good reason. The cost of buying a new guitar cable, for example, is much higher than the pennies it would cost to break out your iron and a spool of solder and fix the broken leads. Not to mention the hassle of having to go to the inevitable Guitar Center…
Here, Cory demonstrates how to solder a brand new XLR connector onto a mic cable. Repairing XLR cables is a great, simple way to show your worth to a new studio manager as well!
By simply taking the two conductors, and the shield wire found inside a standard mic cable, we begin by trimming them to an equivalent length. Once our wires are trimmed neatly, we can strip back any of the extra insulation found on the outside of the wire, exposing the copper leads inside. The idea is to make a clean connection between the copper wire and the metal pins in the XLR connector. Using solder as a binding agent, we can make a very strong bond between these two components, allowing our electronic voltage to properly travel down the cable.
In most cases, when a cable starts going bad, it is likely that one of the wires or joints has broken off of its associated pin in the connector, so just resoldering those components together is a quick, easy fix. You can pick up all the supplies you need to create and fix your audio cables from RedCo.
There are many other uses for soldering outside of just fixing or creating custom audio cables. Anything from building a computer, a sound module, modding a microphone, building a guitar amp, or even fixing/upgrading an old video game system as we will see in this next part, as Cory adds a component to his old Atari to get better quality audio and video.
In part two of our Soldering tutorial, Cory P goes over some of the additional benefits of having soldering skills. Here, he demonstrates how adding an additional circuit to a classic Atari video game system can allow us to have higher fidelity video and audio. The mod also allows the old system, which traditionally only uses an RF Adapter to connect to a television, to output using a more standardized component system found on most newer TV sets.
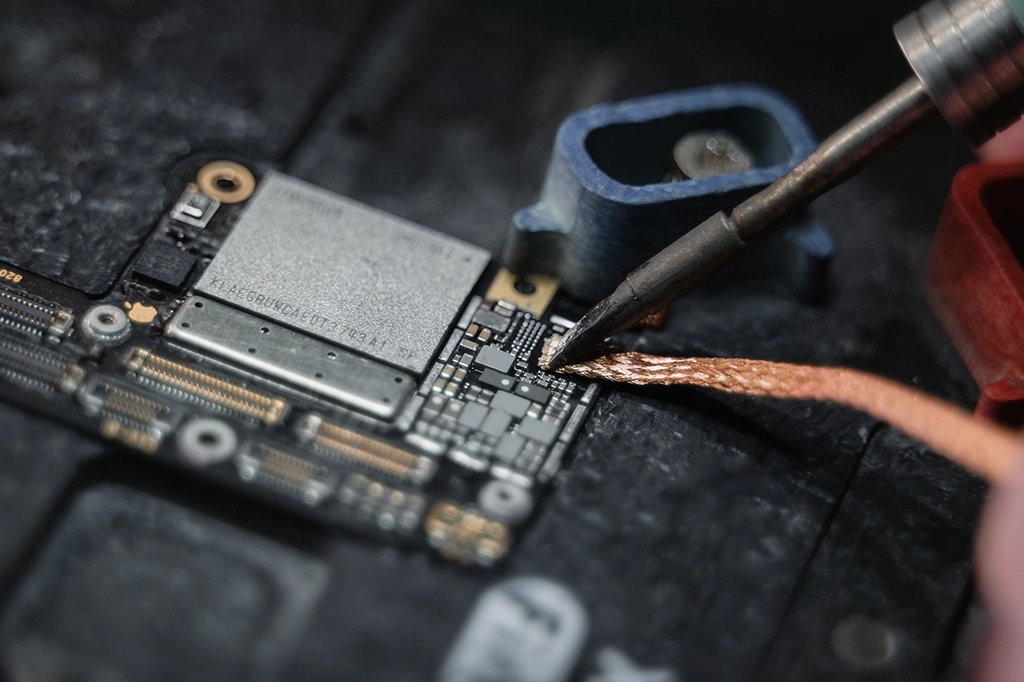
Another point that Cory touches on is the quality of a solder joint. There can be from time to time what are known as “cold solder joints”, where the solder was not heated and placed properly. This can cause a poor, intermittent connection. In many old devices, these cold solder joints are the cause of many problems, and can be easily fixed. By reheating the cold joints, it can more accurately disperse the solder and flux to make a more solid connection. If that doesn’t work, using a device such as a “solder sucker” can be beneficial in completely removing old solder, allowing you to make a completely fresh connection.
Keep those irons warm!


