How to record an acoustic guitar
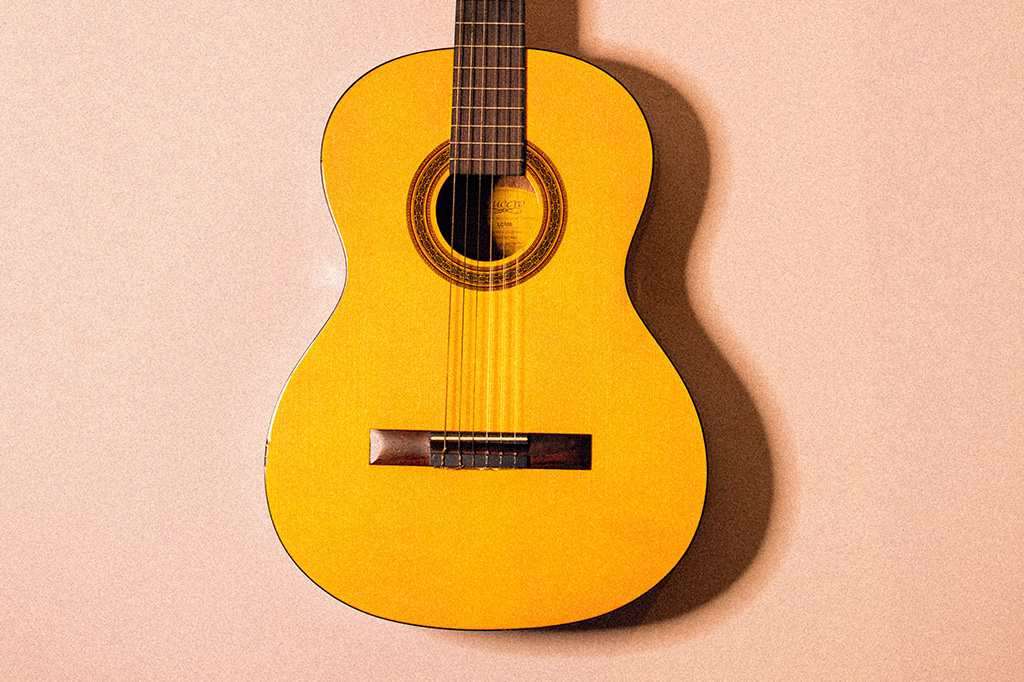
Acoustic guitar is one of the most commonly played instruments. It is a relatively simple instrument, just six strings strung down the neck and over the sound hole in the body. As basic as it looks, recording an acoustic guitar can be a challenging process. How can I record an acoustic guitar? What kind of guitar recording equipment is involved? How do I get that bright, shiny string sound?
Recording an acoustic guitar can be done in 5 steps:
- Setup
- Guitar Positioning
- Mic Placement
- DAW Session Setup
- Recording!
What do I need to record an acoustic guitar?
- Acoustic Guitar
- New Strings
- Tuner
- Microphone and Mic Cable
- Audio Interface
- Headphones
- Computer with a DAW
The first step in recording anything is to make sure the instrument is in the best condition it can be. In the case of a guitar, this means new strings! You need new strings to have that bright, fresh tone. Make sure to get a digital tuner, and make sure the guitar is in tune. You should double check the tuning before each recording pass as well.
The Recording Gear
Aside from the guitar itself, you will need some sort of recording device. These days, a home recording studio can be set up fairly inexpensively. If you have a computer already, you only need a few other items to begin making high quality home recordings.
You will need at least one microphone. There are hundreds of different mics to choose from, each with its own unique sound and characteristics. But to start off, any mic will do. Something cheap, like a Shure SM57 will work. However, you may want to go with a condenser microphone, such as an AKG C414. Condenser microphones, compared to dynamic mics like the SM57, are able to pick up much more definition in the sounds they capture. This can really bring out the nuances of an acoustic guitar.
What if my acoustic guitar has a pickup in it? Can I just plug it straight into the audio input of my computer? You might be able to get signal into your computer and record this way, but this is not the best way to record. Chances are you will end up with a low level recording that has a high noise floor. Also, due to the location of where the pickup is, you may not get the best sound out of the guitar with this method of recording. The pickup picks up the guitar sound waves before they’ve had proper time to develop.
The proper way to get the sound from your guitar into your computer is to use a microphone. With a microphone, you can place it farther in front of the guitar to allow for the sound of the guitar to fully develop. Most of the time, we listen to guitars from a distance, so we want to record in the same general space we are accustomed to hearing the guitar in. We don’t listen to a guitar with our ear on the fretboard!
You will also need an audio interface. An audio interface is the link between the sounds you are picking up with your mic and what the computer is able to process. Often times they are the part of our signal chain that converts analog audio to digital, and vice versus. Interfaces like Native Instrument’s Komplete 6 audio interface, which is included in CRAS Laptop Recording Package, are perfect for this type of basic recording. The Komplete 6 interface connects to your computer via USB, and provides multiple input types, including a microphone input with a built in pre-amp.
The pre-amp is an amplifier that allows us to turn up the volume of the mic signal, which allows us to get the best signal to noise ratio on our recordings. Having too much noise in your recording makes it sound like listening to an old, very used tape, and nobody wants that.
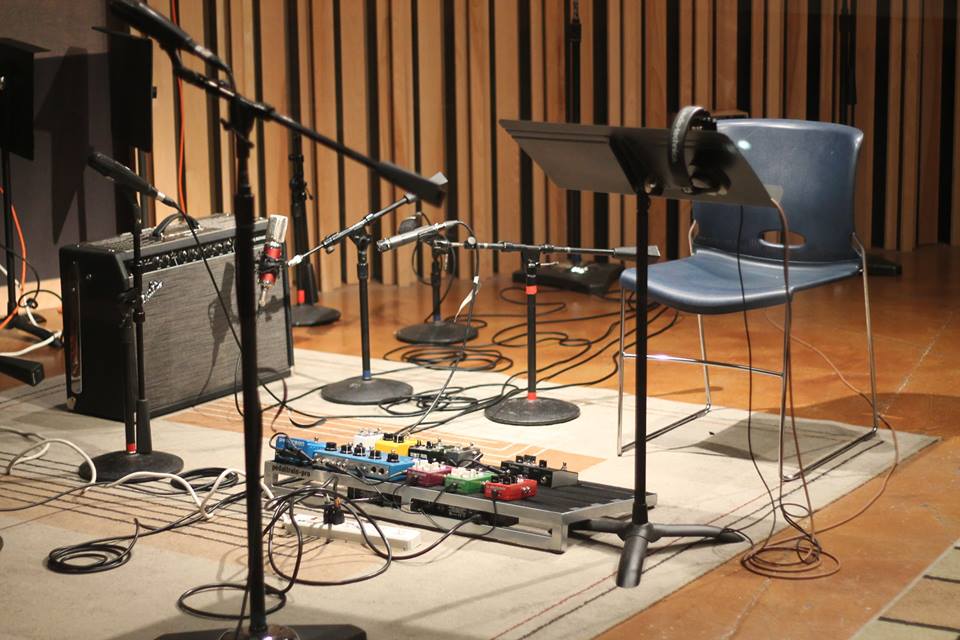
Guitar Placement
Part of what makes an acoustic instrument sound beautiful is the space the instrument occupies. As the sounds travel from the instrument and develop in the air, they take on certain unique characteristics. Things like reverb time, decay, and the audible “size” of the guitar can all change depending on where the guitar is in your room. It’s a good idea to try a few different spots, and critically listen for where your guitar shines the brightest. Using a bathroom, for example, can give you a very open, very reverberant sound. Using a bedroom closet, on the other hand, can give a very small and muted sound. Depending on the tone you are looking for, one room may be better than another.
Mic Placement
The mic placement is one of the most important aspects of getting a good sounding guitar recording. Mic placement is also one of those things that doesn’t have a hard and fast rule on how to do it right. It’s all about experimentation, and searching for the sound you want.
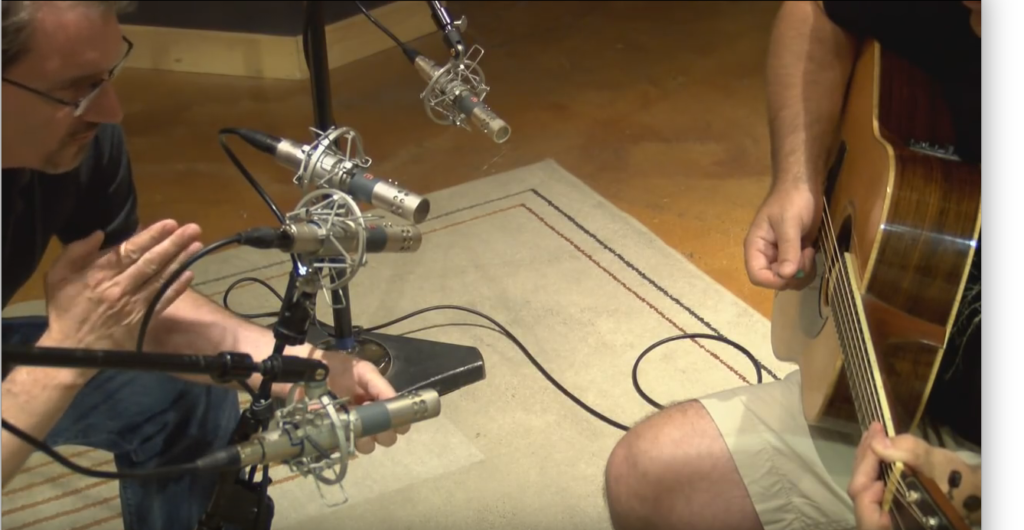
Generally, you will want to place the microphone in front of the guitar. Start with the capsule of the microphone near the 12th fret of the guitar, and space it about a foot away. If you only have one microphone, aim it towards the guitar’s sound board. If you have two mics, you can set up a spaced pair type configuration. In that case, you would have one mic pointed towards the sound hole/bridge area of the guitar, and another pointed towards the guitarist’s fingers on the fret board.
Experimenting with where the mic is in relation to the guitar can give you a wide variety in sounds. Moving the mics closer to the guitar may make it sound thicker and “boomier”, where as moving the mics back away from the guitar can give it more fullness and more “airiness”. Aiming the mic towards the sound hole can give a more rounded sound. Aiming the mic towards the fretboard and the guitarist’s fingers can give more texture and string noise, which can add ambiance to the tone.
If you have a guitarist available to sit in your recording space and play for you, have them play some of their favorite acoustic guitar songs for you. While they are playing, walk (or crawl) around them and use your ears to critically listen to where the guitar sounds best. Moving a few inches closer, or a few inches farther away from the guitar can make a drastic difference in sound and tone.
Once you’ve found the “sweet spot”, you will want to place your guitar mic there. Ideally, you will want a proper mic stand to hold the mic in place there.
DAW Session Setup
Now that you have things placed where they need to go, we’ll need to do some audio engineering. Make sure your mic is connected to the interface correctly, and that the interface is connected to your computer. Make sure everything that needs power is turned on.
In order to record audio to your computer, you will need some sort of Digital Audio Workstation. Apple computers all come with a very basic DAW called Garage Band. Windows comes with Sound Recorder. There are some other cheap or free DAWs out there, like Audacity and Reaper. If you want to get a real professional quality DAW, you should look towards Apple’s Logic Pro, Avid’s Pro Tools, Presonus Studio One or something along those lines.
There are a lot of things to consider with the session setup. What sample rate and bit depth should I record at? How many tracks do I need? What kind of tracks do I need? How much space do I need on my hard drive? These are all great questions to look into.
For acoustic guitar recording, we won’t need many tracks. You will probably want to record at least two full passes of the song, although the more the better. Combining two different play throughs can give the appearance of more guitars in the recording. Even if it’s the same guitarist playing, it can sound more like a band jamming, and less like a single guy sitting on a street corner. But in order for that to work, you’ll want to make sure they are being played in time with each other. Most DAWs have an option to run a click track, so take that into consideration with your recordings as well.
Once you’ve decided where to save your session, configured the tracks, and tested the mics to make sure they are passing signal, then you are ready to record! Make sure to use your headphones for recording. This helps eliminate bleed of other noises/sounds from getting onto your recording, such as a click track. Using headphones also helps preventing feedback.
Feel free to watch this Introduction to Recording Guitars video we filmed at our Gilbert campus Studio C!